Easy Cookie Glaze (4 Ingredients!)
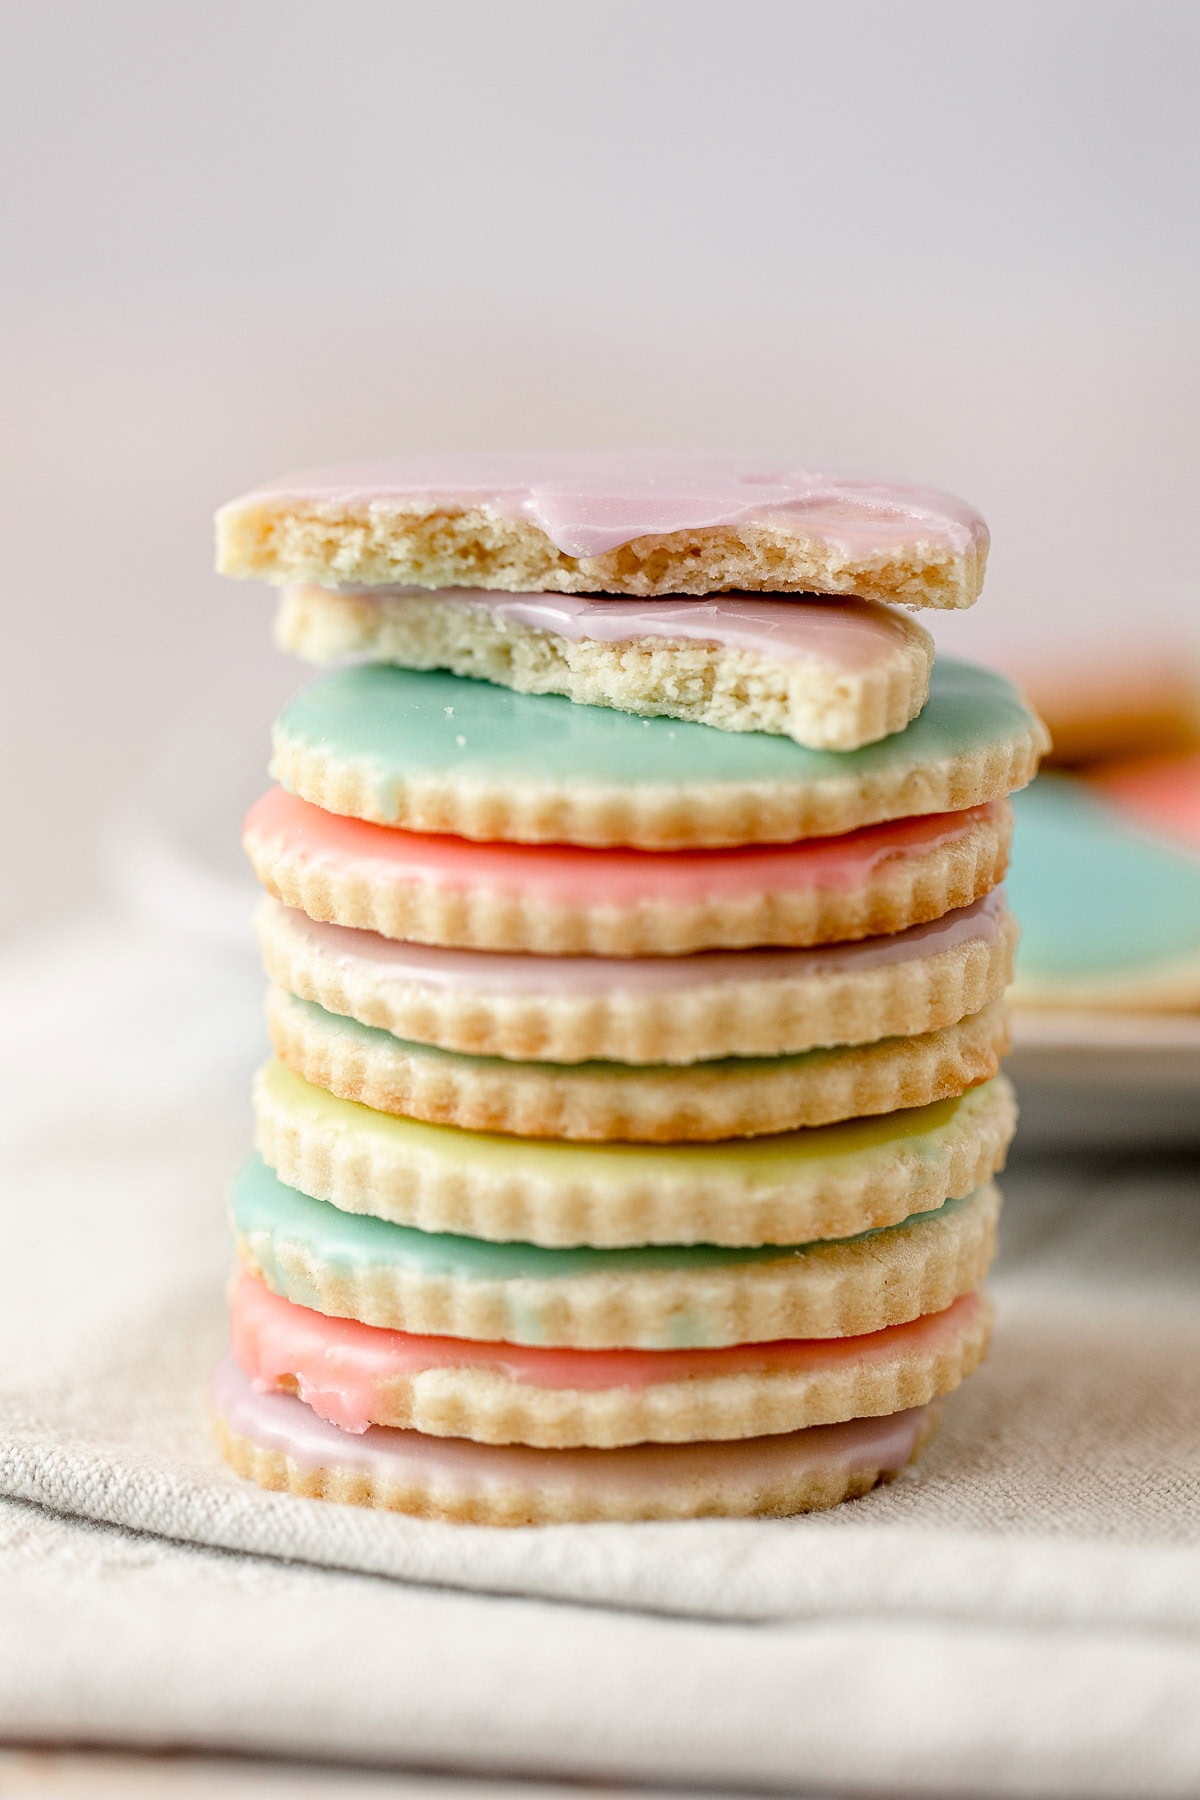
Skip royal icing and try this easy Cookie Glaze instead! With only four pantry ingredients, this glaze is simple to make and tastes good too! You can use it for glazing, dipping, piping, and flooding–whatever you need! And it dries hard so finished cookies can be gently stacked for transportation.
Please note that this post contains affiliate links which allow me to earn a small commission when a purchase is made at no additional cost to you. Read more here.
Pair this recipe with my super-easy Roll-Out Sugar Cookies!
How to Use (and NOT Use) This Recipe
This cookie glaze is wonderfully simple. It’s a nice substitute for royal icing because it’s totally egg-free and doesn’t require egg whites or meringue powder.
Instead, it’s a simple blend of powdered sugar, light corn syrup, milk, and a flavoring (usually vanilla extract). All easy-to-find pantry ingredients.
The glaze is perfect for dipping. Or, make it thicker and play around with simple flooded designs. I don’t recommend this icing for making the very intricate piped and flooded designs that are so popular these days. It’s not as precise as royal icing so it’s best for simple designs.
This glaze is ideal for anyone looking for no-fuss decorating (or decorating cookies with kids). I love it because it is fast, yet still fancy. I just dip a batch of my sugar cookies in this glaze, allow them to dry overnight, and that’s it! Beautiful cookies with low effort.
I also think the flavor is a lot better than royal icing. You don’t get those egg-y flavors that sometimes come through with royal icing cookies.
Don’t Skip This
If you want to minimize bubbles in your glaze, then don’t forget to sift your sugar! This simple step helps prevent bubbles which will save you time and frustration. I always neglect this step and then regret it because I have to clean up lots of bubbles on my dipped cookies.
Fresh Baked Cookies ASAP
Get a mouthwatering cookie recipe each week straight to your inbox.

Recipes by a Real Person in a Real Kitchen
My recipes have been hypothesized, baked, taste-tested, and refined by a real human (me!). I only publish recipes I think are awesome.
~Ellen
Tips for Dipping
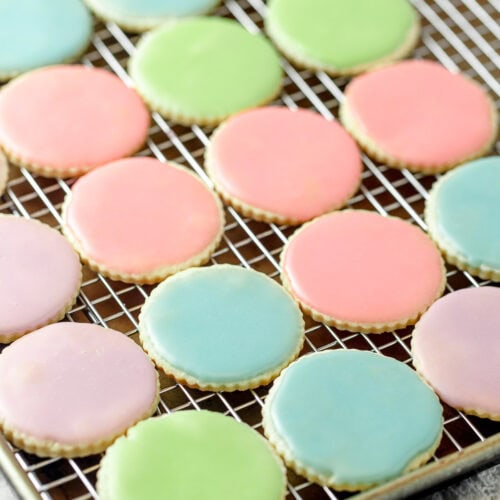
To dip the cookies, hold a cookie upside down by the very edges and dip it into a bowl or shallow plateful of icing. Submerge the entire face of the cookie, but not the sides.
Pull the cookie straight up and allow the excess icing to drizzle off. Flip cookie and place on a parchment-lined baking sheet to dry. The glaze will even out as it sets. Pop any bubbles with a toothpick.
If you want to stack the cookies, the glaze should dry for several hours (around 6-8 pending the thickness of the glaze), but preferably overnight before stacking. I place a layer of wax paper between cookie layers for extra insurance.

Storage and Make-Ahead Notes
To store extra glaze: lightly cover the surface of the glaze with plastic wrap (the wrap should touch the top of the glaze) and then store in an airtight container in the fridge for 3-5 days.
To store glazed cookies: Cookies with dry icing can be kept at room temperature (store in a sealed airtight container) or in the fridge. Store for 3-5 days. Freeze glazed cookies up to 1-2 months.
More Tasty Treats
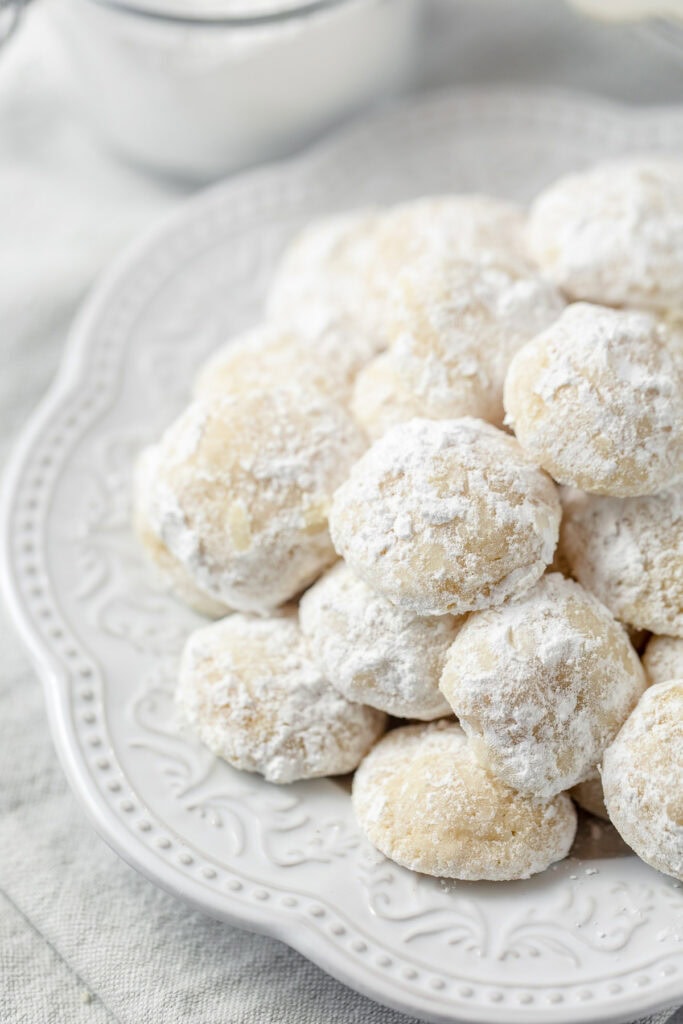
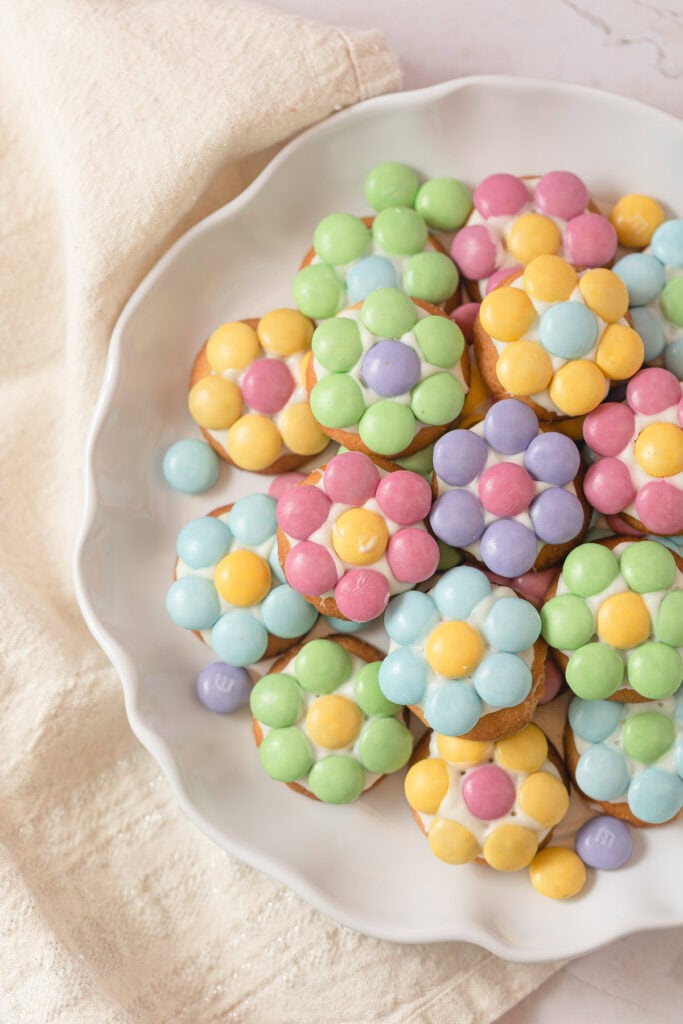
For more tasty cookie recipes, try my Cookie Cereal, Mini Lemon Cookies, Flower Cookies, and more!

If you loved this recipe, leave a quick comment and a 5-star rating!
Thanks so much for trying one of my recipes!
Easy Cookie Glaze
Ingredients
- 2 ¼ cups powdered sugar sifted 9 ounces
- 1 ½ tablespoons light corn syrup
- 3 tablespoons whole milk (you may need more to adjust consistency)
- ½ teaspoon vanilla extract (use up to ¾ teaspoon)
- food coloring
- additional powdered sugar for thickening as needed
Instructions
Make the glaze:
- In a medium bowl, combine the sifted powdered sugar, light corn syrup, 3 tablespoons whole milk, and vanilla extract. Whisk until smooth.
Adjust consistency:
- The glaze should drizzle from a smooth ribbon from the whisk and hold its shape on top of the bowl of icing for 5-10 seconds before the drizzles start to soak back in.If it’s too thick, add a little more milk (1 teaspoon at a time), if it’s too thin, add a little more powdered sugar (a few tablespoons at a time). Note that the thinner the glaze, the more cookies you will be able to frost with it and vice versa.
Dip cookies:
- To dip the cookies, hold a cookie upside down by the very edges and dip in into a bowl of icing. Submerge the entire face of the cookie, but not the sides.
- Lift and allow the excess icing to drip for 3-4 seconds. Flip cookie, gently wiggle it to spread icing, and set on a wire rack or lined cookie sheet to set. Pop any bubbles or swipe away drips quickly with a toothpick.Note: if the glaze is dripping too much off the cookies, thicken it up with more powdered sugar. If it's too gloppy and hard to dip, it's too thick and you should thin it down with milk (adding small amounts at a time).
Decorating ideas:
- If you want sprinkles, add them immediately. The icing begins hardening quickly. Don't use the round nonpareil sprinkles–they will bleed into the icing. I suggest a test cookie for any sprinkle you select.
- If you want to pipe designs on the cookies, then wait for the first layer to dry (at least few hours). Then, fill a small piping bag fit with a small round tip (or just cut the very end of the piping bag) and use your desired color of glaze to pipe simple designs onto your cookies. Use a thicker glaze consistency for the best results.
Storage notes;
- If you want to stack the cookies, the glaze should dry for several hours (around 6-8 pending the thickness of the glaze), but preferably overnight, before stacking. I place a layer of wax paper between each layer of cookies when storing. I’ve carefully stacked multiple layers of cookies with no problems.